
How to Add a Sub-Account in Vivint Host
If you’re working with a team or need to give someone access to your Vivint Host account, you can create a sub-account for them. Sub-accounts allow others to log in and manage parts of your account, without needing to use your main login details.
Follow the steps below to add a sub-account from your Vivint Host dashboard.
1) Log in to Your Vivint Host Account
Go to the Vivint Host login page and sign in with your main account details.
2) Open Account Settings
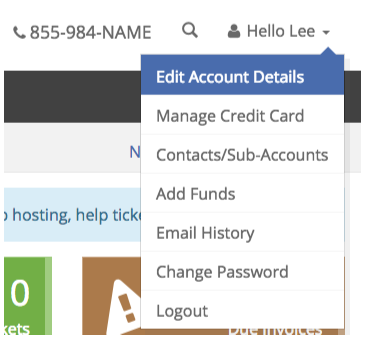
Once logged in, move your mouse over the top left where it says “Hello, [Your First Name]”.
From the dropdown, click on “Edit Account Details.”
3) Go to Contacts/Sub-Accounts
On the Edit Account Details page, select the “Contacts/Sub-Accounts” tab.
This is usually the third tab from the left.
4) Enter Sub-Account Details
Fill in the name, email, and other contact information for the person you want to add.
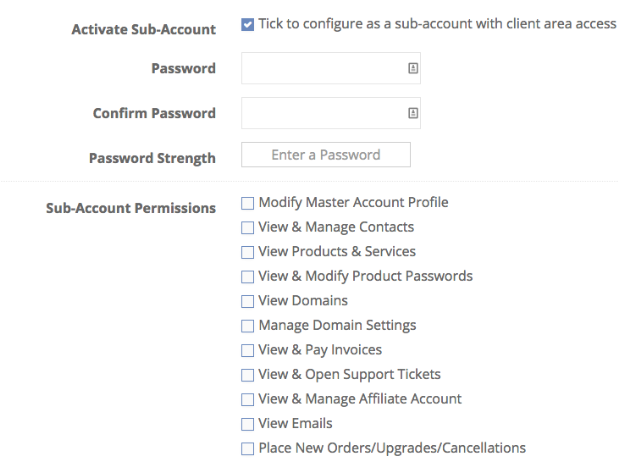
Then, check the box next to:
“Tick to configure as a sub-account with client area access”
This will allow the new user to log in and access the account based on permissions you set.
5) Set a Password
You’ll now need to create a password for the sub-account.
Enter the password in both fields to confirm it.
6) Choose Permissions
Next, you’ll see a list of checkboxes to give specific access.
You can choose what the sub-account can do-such as:
- View and pay invoices
- Submit and manage support tickets
- Access products and services
- Manage domains
Tick only the permissions you want this user to have.
7) Email Preferences and Save
Below the permissions, you can choose which email notifications this user should receive.
Once everything is filled in, click the blue “Save Changes” button at the bottom.
The sub-account is now created and active.
Need Help? Vivint Host Support is Here!
If you run into any issues while setting up sub-accounts, our 24/7 expert support team is ready to assist. Contact us anytime-we’re happy to help!
Experience fast, secure, and hassle-free cloud hosting with Vivint Host!